


Materials
Note: Use upholstery-weight fabric, heavy cotton duckcloth
or denim, OR two layers of lighter cotton, OR lightweight fabric reinforced
with iron-on interfacing. Use a number 16 heavy-weight needle in sewing machine.
- Fabric 19 x 22-inches to cut two identical pattern pieces for the pillow top and bottom.
- Fabric (identical, or to coordinate with the pillow top/bottom fabric) 8 x 70-inches for pillow gusset
- 7.5-inches 5/8-inch wide fusible hook and loop tape for closure
- 8 inches woven belting for handle or make strap from 4x8-inch scrap of fabric reinforced with fusible interfacing (Fold fabric longways, press, fold edges to center, press. You will have a folded strip of fabric 1x8-inches. Unfold. Cut interfacing 2 x 8-inches long and fuse to center of fabric. Fold-in edges, fold down center and press. Topstitch 1/4 -inch from both edges to form handle.)
- 4 pounds buckwheat hulls OR 16-oz bag Morning Glory Cluster Stuff fiber to stuff pillow


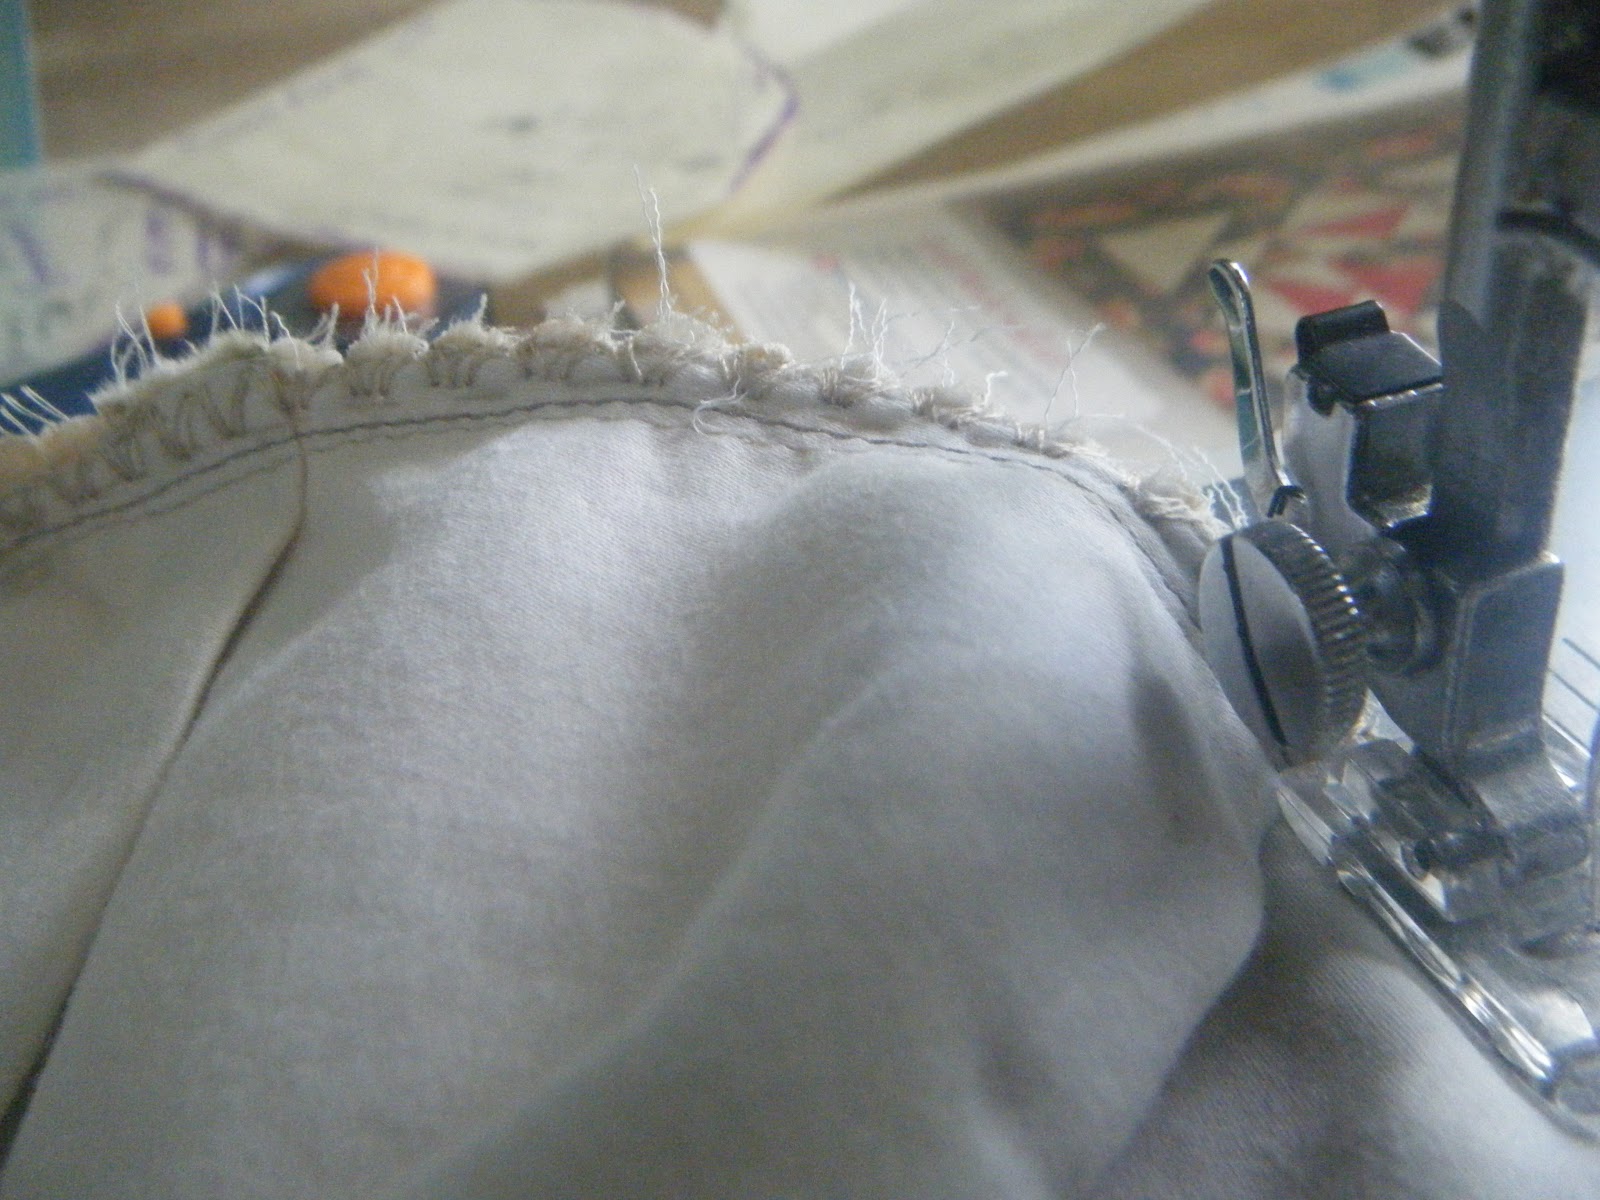
- Cut TWO, bean-shaped, pillow-top/bottom pieces using pillow-top/bottom pattern with straight side of pattern placed on the straight-of-grain fold of pillow-top/bottom fabric. (Photo shows interfacing stitched to pattern piece.)
- Cut one pillow gusset 8x70-inches.
- Prepare gusset by marking a straight line on the wrong side of the fabric every five inches beginning 7 inches from one end of the fabric – mark 13 lines in all.
- Make 3/4-inch pleats at each mark, pin pleats in place and machine baste with long stitch along both long sides of the gusset. (To make a pleat, pinch 3/4-inches on either side of drawn line, fold flat along length of fabric, and pin in place before machine basting.) Your gusset will be approximately 50-inches long after pleating.
- Hem one 8-inch gusset-end by folding over 1/4-inch to wrong side of fabric, press, and fold over 1 inch and stitch down. This will form one side of the placket for the hook and loop tape closure.
- Place handle strap on right side of gusset about 1-1/2 inches from hemmed end of gusset and baste in place.

- Fold pillow top and gusset in half to find centers, mark, and pin match center mark of gusset to center mark of pillow top at indentation at top of pillow top. Starting at center top of pillow top, pin RST pillow top and gusset, working from center top to both ends of gusset. Pin hemmed edge to pillow top. Fold excess length of unfinished end of gusset to overlap prepared placket hem , fold back to form hem, and trim. Pin in place.

- When you get to the end of the gusset, fold the excess length to the wrong side of the gusset to meet the point where you began pinning. Place the hemmed edge under the folded edge and place the folded edge on top of the hemmed edge and pin in place. This will create a placket for the hook and loop tape (If your gusset is excessively long, you can trim any length over two or three inches on the folded edge before sewing.)
- Hand baste the gusset in place and remove pins.
- Machine stitch gusset in place using 1/4, or 3/8-inch seam allowance. Zig-zag-stitch overcast seam allowance.

- Fit iron-on hook ‘n’ loop tape into placket formed by overlapping hems on gusset. Fuse. Open hook ‘n’ loop and stitch tape in place along all four edges of each tape piece, on both sides of placket.
- Find centers on remaining pillow top and gusset side and pin as in first side. Baste by hand.
- Stitch by machine. Overcast (zig-zag) seam allowance.


- Turn pillow through placket opening.
- Stuff with fiber or buckwheat hulls through open placket.

Comments