
Child's apron

Eight-year-old Jake really wears that apron.

 Child's size Large apron pattern -- one half

Child's apron, size Large (adjustable)

This project is so easy that it would make a good first, sewing project for a beginning stitcher.

Make a pattern out of paper bags or wrapping paper. Your pattern will look just like the pattern shown here in geometric fabric. Cut your pattern paper 29-inches long and 12-inches wide. Mark the 29-inch length with the word FOLD written large along one side.

Mark the other long side of your pattern with a dark marker ten-inches down from the top of the paper. Mark the adjacent top edge of your pattern at the five-inch point. Connect the two marks with a line and cut that angle away from your pattern. 

The result will be a pattern shaped like the one in the photo at the right. the top is five-inches wide; the long side is 29-inches long; the short side is 19-inches long, and the bottom is 12-inches wide.

Choose 2/3 yard of cotton canvas, twill, duck, or a large tea-towel for your apron.


Twill tape from
http://twilltape.com


For apron tie, purchase 2-1/2 yards of heavyweight, cotton, 1-inch-wide twill tape (preferable) or grosgrain ribbon for fabric ties -- available at fabric and craft stores, and at twilltape.com.

Open your fabric up and fold in half longways across the width of the fabric with the selvedges on opposite ends of the folded fabric. Place your pattern on the fabric with the long side marked FOLD along the folded edge and the bottom along one of the selvedge edges, as shown in the photo above. Pin in place, and cut out. The resulting apron piece will be 29-inches long, 24-inches wide at the bottom, and 10-inches wide across the top (or bib). 


Double-sided tape finger pressed to wrong side of apron top.
Cut a 10-inch length of Pellon EZ-Steam II, 1/4-inch wide, two-sided fusable tape and finger press the tape to the wrong side of the edge of the bib top. Be sure to press firmly so that the tape will stick to fabric when you pull off the paper in the next step.


Peel paper backing from double-sided tape applied to apron top.
Gently peel off paper backing.
Top edge of apron folded over, secured with double-sided tape.
Fold over the edge to form a narrow hem about the width of the tape. Cover with a damp cloth and press firmly with steam iron on cotton setting for 10-20 seconds.
Top of apron folded over and ready to be stitched down.
Fold down another half-inch and stitch in place. 

Note: If you prefer, you can skip the fusable tape and just double turn the hem without fusing. The tape makes this a little easier, but has it's own challenges -- like peeling the paper off the double-sided tape. You can usually do this by pressing the paper very hard with your thumbnail to lift the paper away from the tape slightly.


Apron side folded in preparation for stitching
Repeat this same folding and stitching process to both right and left sides of the apron.

We will not be hemming the apron. Although you can hem yours if you do not have a selvedge end on the bottom, or if you prefer to add a hem.


Two diagonal armholes in top of apron, folded over once in preparation for making tie casings.
Carefully add tape along the edge of the diagonal armhole, being careful not to stretch the fabric. Fold over 1/4-inch and press, being careful not to stretch the fabric. 
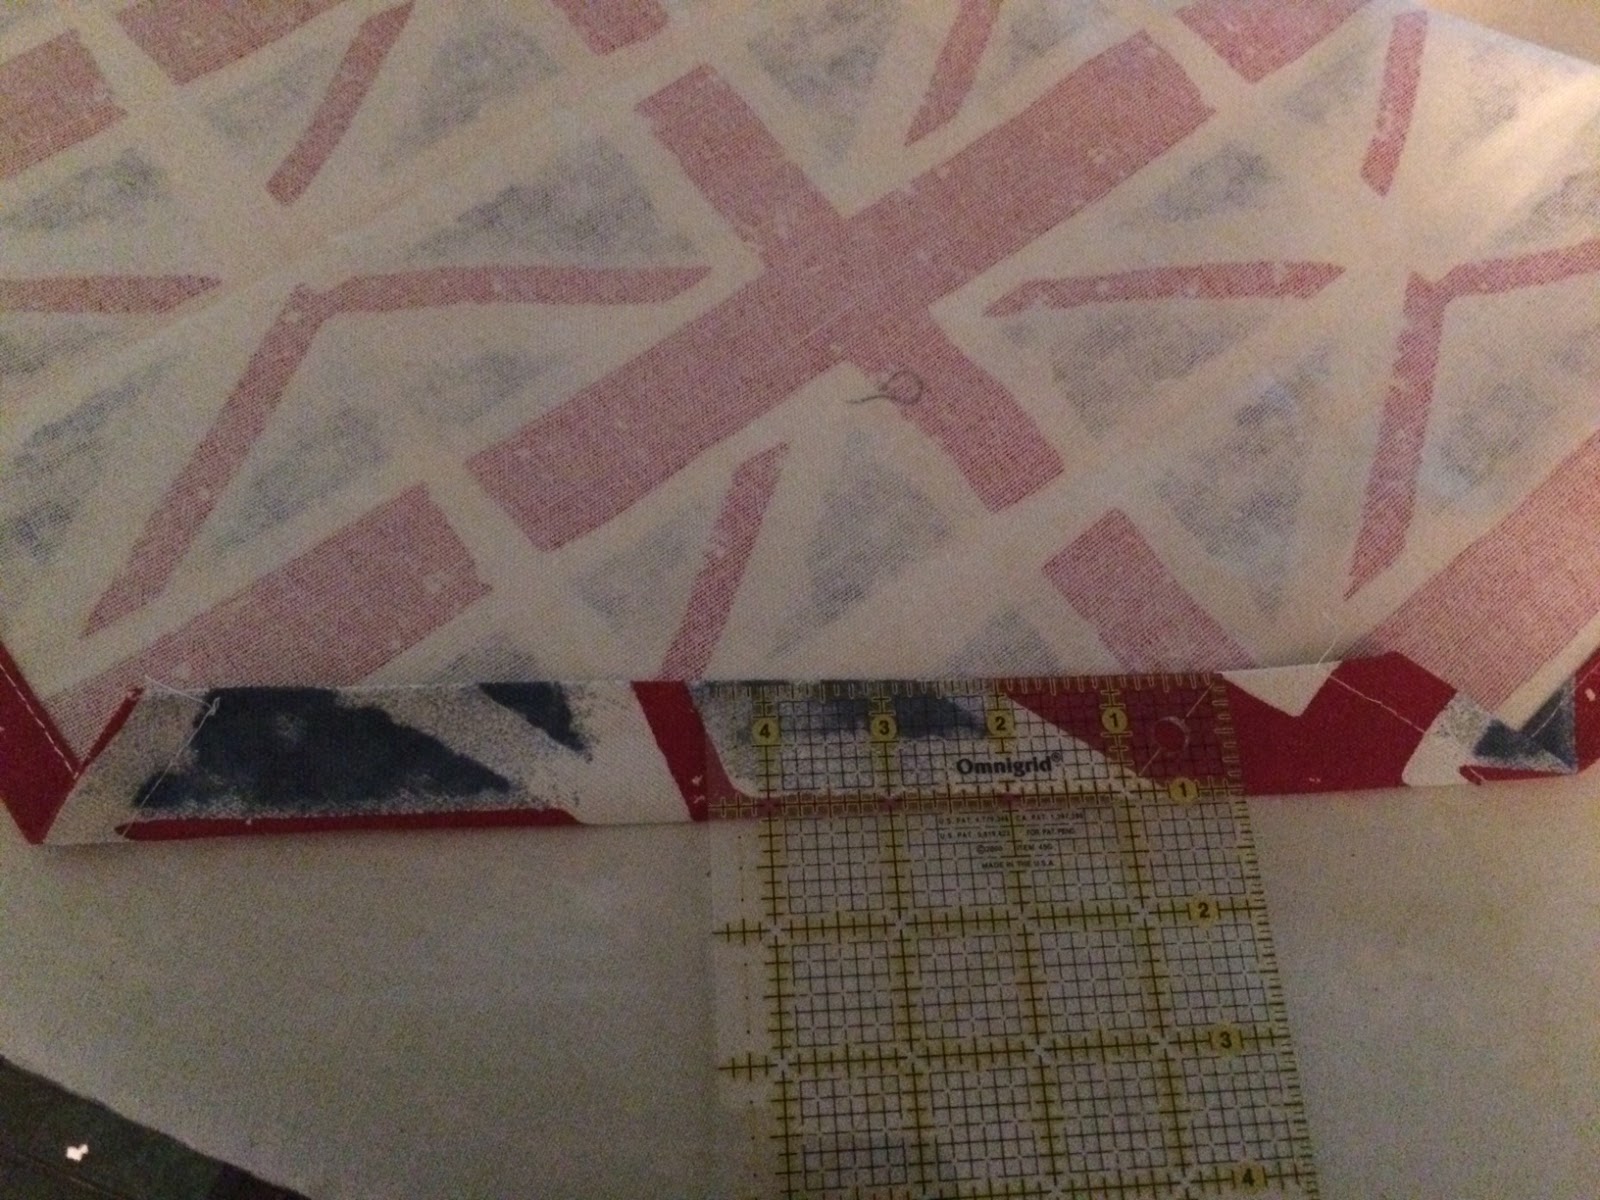
Folding along diagonal armhole to create casing for apron tie
Fold over another inch, and press.
Closeup of fold on diagonal apron armhole before stitching
Stitched casing along diagonal apron armhole
Stitch down along the long edge of the casing formed by the folds, leaving ends of casing open, so that you can thread your ties through the casing.

Repeat process for second diagonal armhole casing. 

Bodkin pulls twill tape through armhole casing.
Pin a large safety pin to each end of your twill tape and feed each end of the tape through one of the diagonal armhole casings, using the pin to push and pull the twill tape through the casing. You can also use a bodkin (shown above) or a hemostat (shown on cutting mat below) to thread your ties through the casings.


Twill tape fed through both diagonal armhole casings.
Neck loop at top of apron bib
Adjust ties and leave a large loop to pass over the neck.


Knot ends of apron ties.
Once the ties are threaded through the casings, remove the pins and tie a heavy knot on each end of the twill tape. Neck loop and ties may be adjusted to fit the child who is wearing the apron. Wrap ties around waist and bring in front to tie.


Child's apron size Large


Warning: Supervise children at all times while they are wearing this apron; apron could be a choking hazard to children under the age of 12.

Comments

Popular posts from this blog

Notes on Purl Soho Cross-back Apron pattern

Purl Soho Cross-back Apron, regular sized,  front view Purl Soho Cross-back Apron, regular sized,   back view by Linda Theil This is the Purl Soho Cross-back Apron featured on their website at  https://www.purlsoho.com/create/2015/11/20/cross-back-apron . Their page includes complete directions for making this one-size-fits-most apron with large, side-pockets and cross-back straps. This retro apron is so nicely made and looks so much like the apron my grandma wore in the Nineteen-fifties that I had to make one for my friend who appreciates the nostalgia and the beauty of this design. Although this apron pattern, as published, can adjust to several sizes from 2-10; I also made a larger option, adjusting the width of the pattern pieces to accommodate up to size 16 and up. Size adjustment may also be made by varying the length of the straps. These notes are a record of my experience with the pattern, and should only be viewed as...

Plover Pouch adaptation

by linda Theil I made several adaptations to Noodlehead's "Plover Pouch" for Emerson's birthday present. I had previously given her a medium-sized "Plover Pouch" that she added a cross-body strap to, so thought I'd make her a larger, sturdier bag with the crossbody strap built in. I modified the zip-end detail featured in the pattern to allow me to insert the strap ends into the top of the gusset. The "Plover Pouch" pattern includes three sizes with the largest measuring 12 x 7.5 x 4-inches. For the large bag, I used "Hedgehog Hollow" cottons by In the Beginning fabrics for the front and back exterior panels and the lining. I machine quilted the front and back panels to increase the stiffness of the bag, and I interfaced the lining with iron-on fleece as well. That was actually an accident, but the fleece interfacing in the lining worked out pretty well. The side-panel and bag-base gusset are made of Mora faux leather. I used a #5 dou...

Goodfellows WW II ornament

  Velma Swaddle Theil & Stephen A. Theil, Jr. 1945 by Linda Theil When we were married, Steve's mother gave us an ornament from his first Christmas tree in 1944 to adorn our first Christmas tree in 1969. Steve was almost a year old on his first Christmas, but he had never met his father because his dad was in Europe fighting in the Second World War. His father was over thirty-years-old when he had been drafted into service; and he would not meet his son until another year had gone by. His first Christmas tree ornament was a tiny drum made from a tuna can, adorned with decorative paper decals proclaiming "Goodfellows Drum Corp". Two small wooden drumsticks were attached, but only one remains. Since our granddaughter, Emerson, is a percussionist in her middle-school band, I gifted her the drum this Christmas in remembrance of the grandfather and great-grandfather she has never known. Although my husband's father never spoke of his time in the service, recently Alisa...