
Alisa's market tote, folded up and ready to go shopping.
The pattern makes a large, lightweight, unlined tote with self handles that can be rolled up and tied with an attached ribbon and stored in a small space. We made all three linen totes, and Alisa liked them so much she wanted one for herself, so we grabbed a yard of fabric from her stash and got to work. We have documented our process below with slight modifications to the Purl Soho pattern
 |
Completed market tote in cotton "Comma" for Zen Chic.
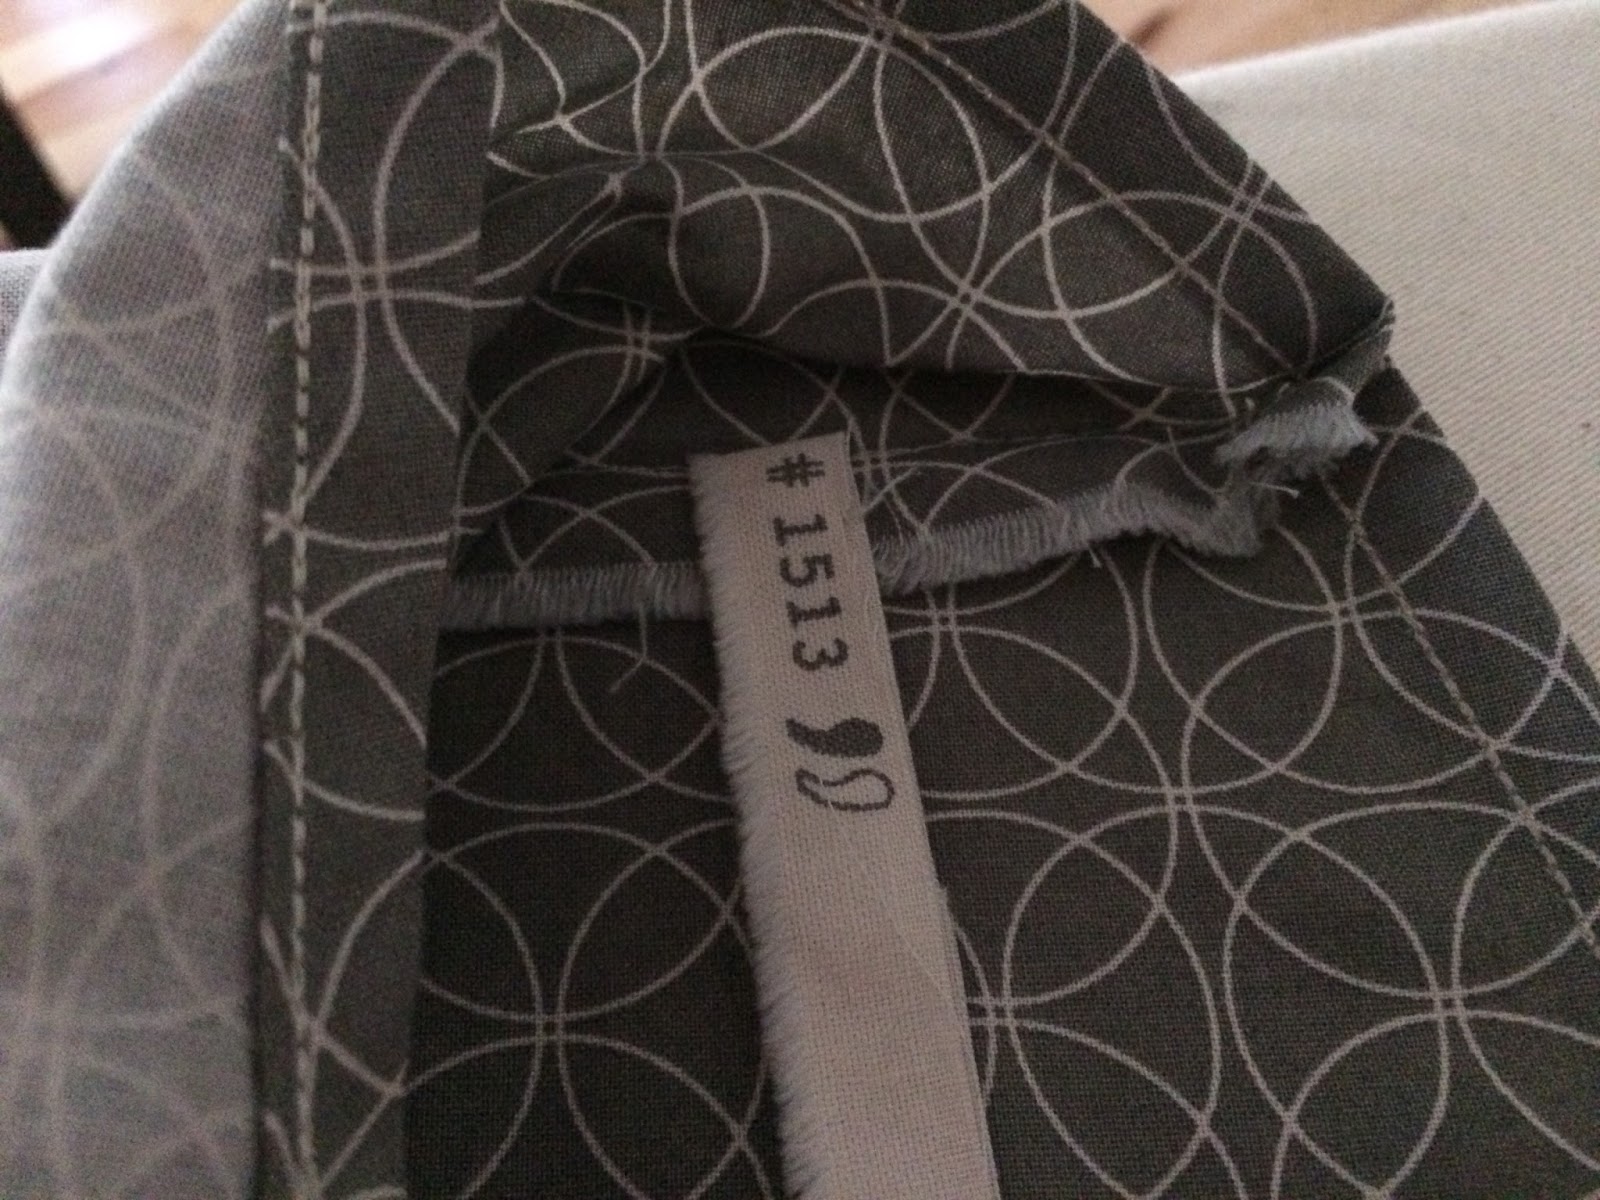
The finished bag is roughly 18x18-inches in capacity.You will need a yard of 45-inch-wide fabric for each tote. For her tote, Alisa chose Moda's "Comma" by Brigitte Heitland for Zen Chic (Made in Japan, 100% cotton, pattern #1513).
Cut the selvedge edge from the fabric and use a yard of this selvedge for the tote ties, or use a yard of 1/4-inch-wide grosgrain ribbon, if you prefer.
Fabric layout

Cut two 20 x 33 -inch pieces of fabric from one-yard length of cotton, linen, or other strong, lightweight fabric. I used cotton for this tote.
Stack and fold fabric pieces in half longways to make 10 x 33 -inch rectangle.
Measure five-inches from fold along one short edge of fabric, and mark with fabric marker.
Measure 17-inches down long, unfolded edge and mark with fabric marker.
Draw a diagonal line connecting the two marks and cut along the line. This diagonal edge will be hemmed to form the self-handles of the tote, and will be seamed only at the top to complete the handles.

This photo shows the tote fabric with diagonal cut for self-handles. The fold is at the bottom of the shot.
Seam tote together

Take your two fabric pieces and put them together with the right-sides-facing. Pin together along one edge below the diagonal cut. Seam is about 16-inches long.

Stitch a 3/4-inch seam from the bottom of the bag to the point where the diagonal cut begins.

Press the seam open.

Fold one side of seam allowance under to create hemmed seam-allowance edge.

Fold the other side of the seam allowance under. Press.
Fold the raw edge of one diagonal cut 1/4-inch toward wrong side of fabric and press. Fold over another 1/4-inch to form hem and press. Repeat for second diagonal cut.

This photo shows the double-folded and pressed diagonal cut on one side of the first tote seam. The other diagonal cut (on the right) is shown before it has been folded.


Stitch the diagonal hems and folded seam allowances in place with regular or decorative stitching. I used a triple, top-stitch for the Moda cotton bag. (I used a blanket stitch for the linen bags.) Press.
Follow the same process for the other side of the tote: with right-sides-together pin, stitch seam, fold seam allowances, press, and topstitch the second seam and diagonal hems. Press.
French seam bottom of the tote:
Turn the tote right-side-out. Line up both topstitched seams in the center of the tote and press flat.

This photo shows the tote with the seams lined up in the center and the handles forming a V-shape above the seam. To prepare for the French seaming process, even-up the bottom, raw edges of the tote if they need to be straightened. This process will enclose the seam inside itself, providing a finished edge inside your tote.

This is a close-up photo of the tote bottom -- with seams lined up in the center of the tote -- shown before the bottom edge was trimmed to be even and straight.
With wrong-sides-together, stitch across the bottom of the tote using a 1/4-inch seam allowance.
Turn inside-out, and press.

This is the wrong side of the tote showing the bottom, after the first seam has been sewn.
With right-sides-together, as shown above, stitch the bottom seam, again, this time with a 1/2-inch seam. This is the French seam that encloses the raw edges of the fabric inside the seam allowance.

This photo shows the second seam completed at the bottom of the bag. Turn the bag right-side-out and press.
French seam tote handles
With right-side-out, wrong-sides-together, stitch the tops of the handles together using 1/4-inch seam allowance as shown below.

Press, and turn right-sides-together as shown below.

Fold 1 yard selvedge tape, or ribbon, in half; and insert the folded edge on the right side of the fabric, inside the seam allowance, two-inches from the end of the seam -- shown below.
Fold the top layer of the handle flat over the selvedge tape, and stitch the handle seam again -- this time with right-sides-together and selvedge tape enclosed -- using a 1/2-inch seam allowance.

Turn right-side-out, shown above. Press encased French seam to one side and top-stitch in place about 1/4-inch from seamline, shown below.

Knot ends of selvedge ribbon. Fold finished tote in half and roll up from the bottom as shown below.

Tie rolled tote closed with a bow using the attached selvedge tape.

See folded and tied tote at the top of this post.
 |
| Alisa |
Resources:
https://www.purlsoho.com/create/2016/08/05/fold-up-market-tote/
https://www.purlsoho.com/fold-up-market-tote-bundle.html
Comments