I fell in love with CAPSULES "Stargazer" fabric line from Art Gallery Fabrics Studio and could hardly bear to cut the selection of fat quarters I bought as a bundle. I made a tote that I love and tote with me everywhere. So when I needed fabric for a 60-inch by 80-inch twin-sized quilt, I thought of my "Stargazer" stash.
I won't say my "Stargazer" twin is the world's most brilliant or original quilt design, but it is very adaptable, fast and easy to sew, and lends itself to a modicum of self-expression. So I thought it might be worth sharing -- 'cause doesn't that sound great! And if you have fabric you can't bear to cut, you might want to try it, too.
What you need for a twin-sized quilt:
- 12 18-inch squares of coordinating and/or contrasting fabric (possibly cut from 18-inch by 22-inch fat quarters
- A "jelly roll" of 2.5-inch by 42-inch neutral, contrasting, and/or coordinating fabric -- I used an all-gray jelly roll
- Polyester thread in a neutral color
- Twin-sized polyester quilt batting
- Full-sized flannel or cotton sheet for the backing

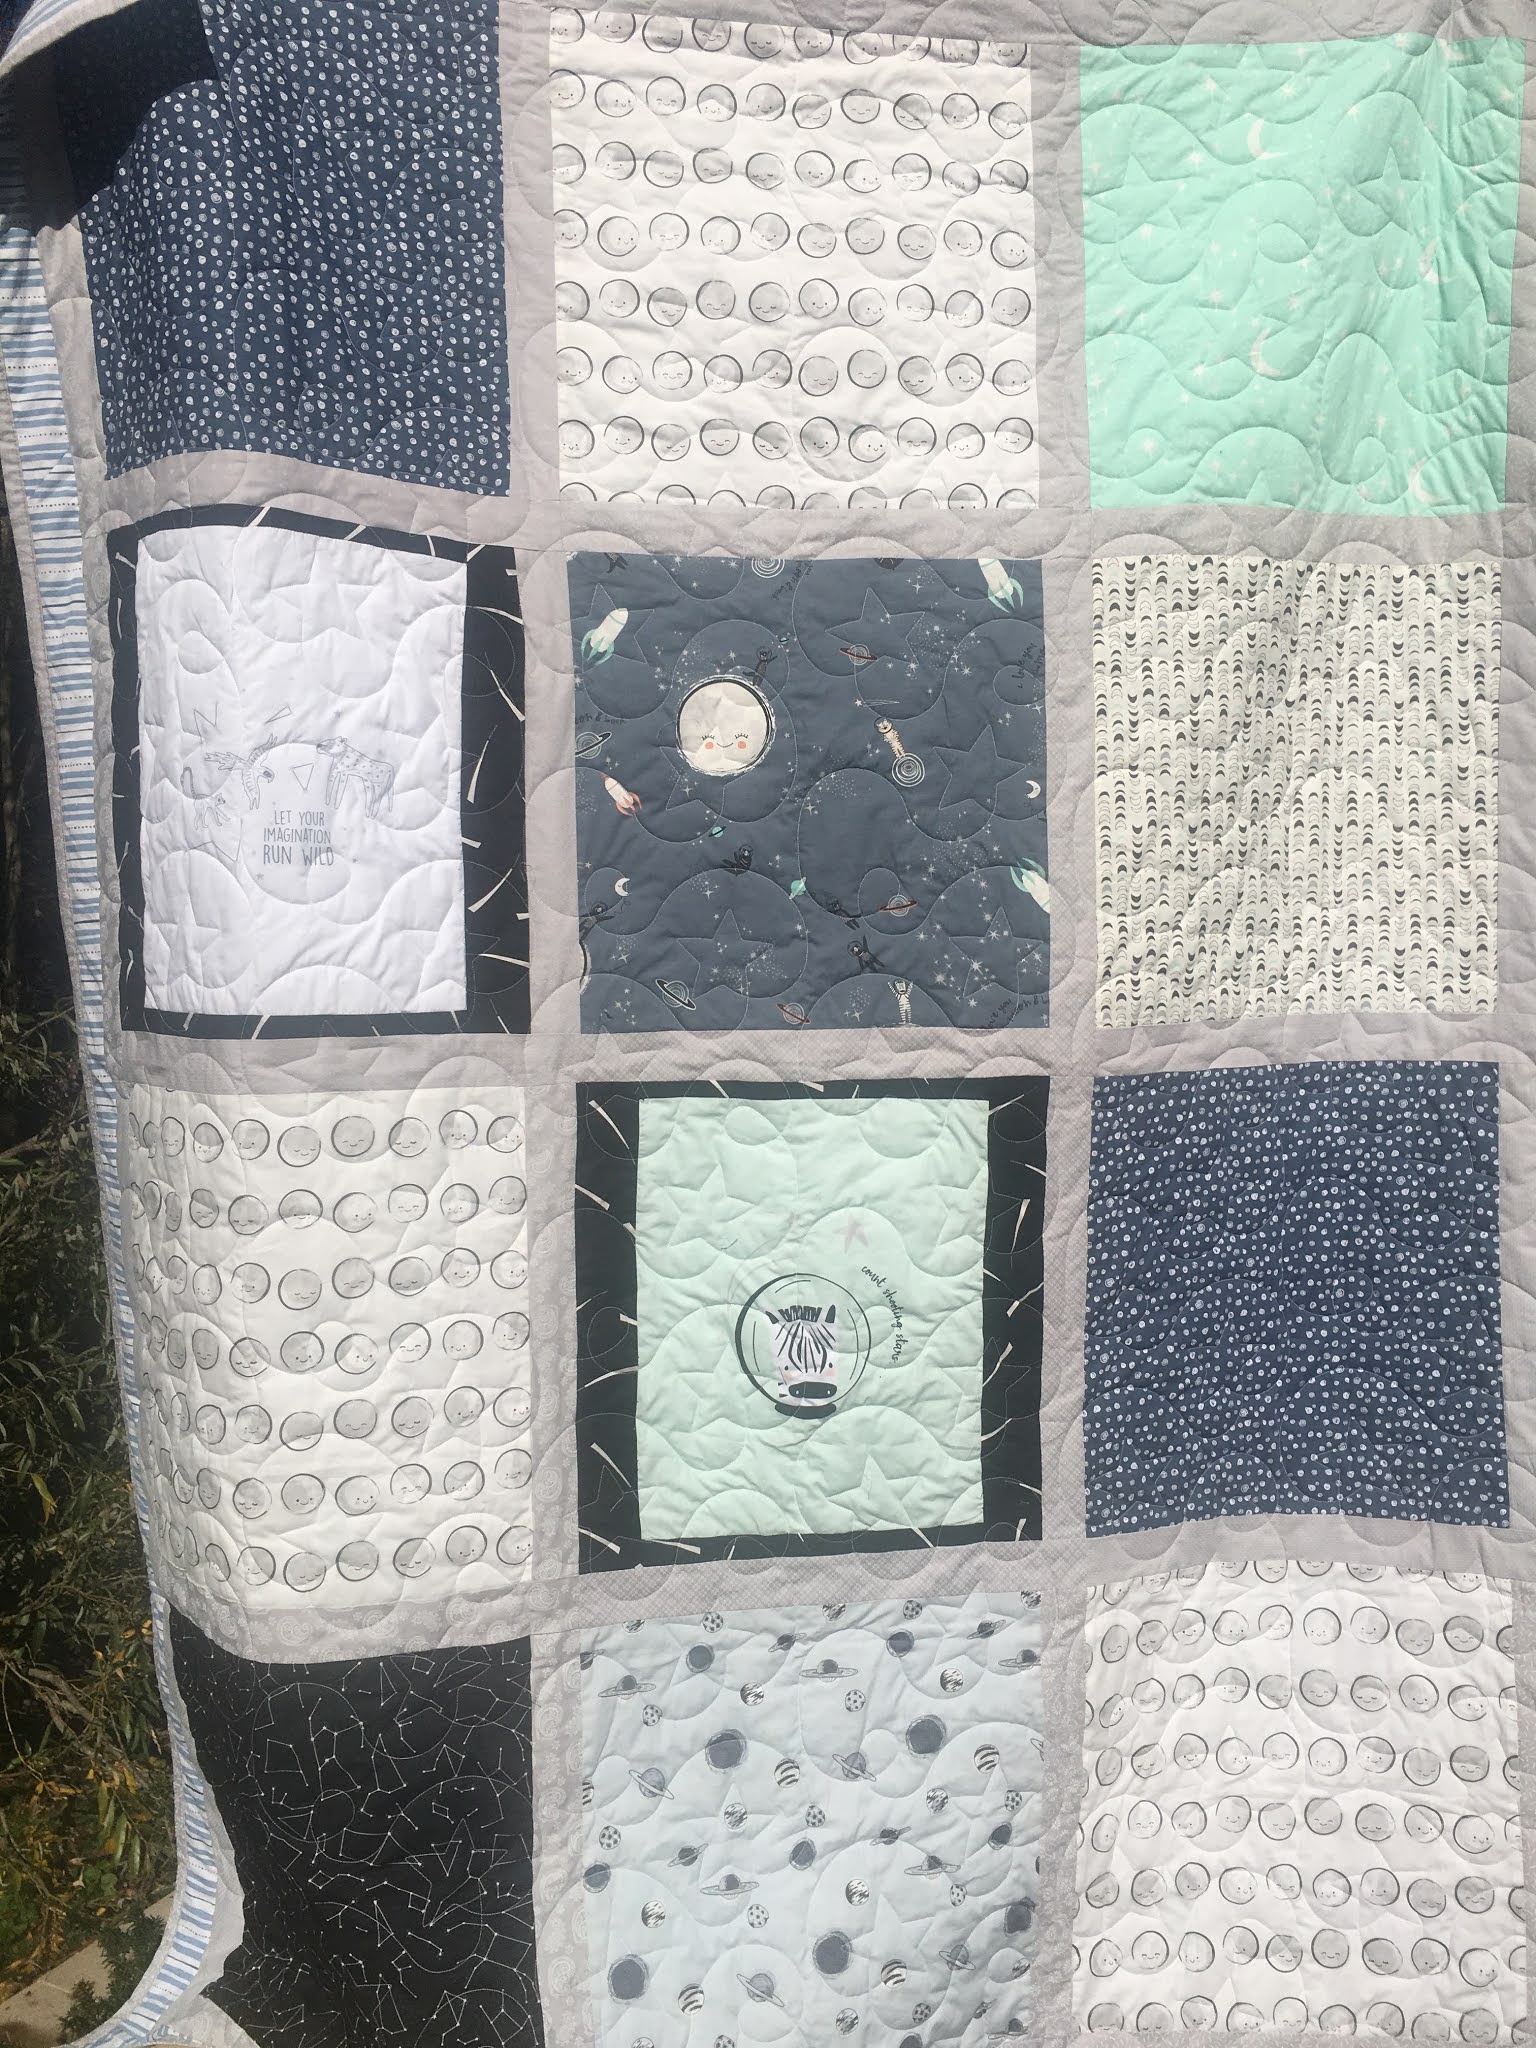
I cut my fat quarters into 18-inch squares, and since I also had a "Stargazer" panel, I bordered parts of the panel to make 18-inch squares from the panel that would fit into my design. Then I arranged my squares in a three-by-four grid.
I sewed a 2.5-inch strip -- from a jelly-roll of neutral gray fabrics -- first along one side and then along the bottom of each square. I laid out the squares and sewed an extra strip on the side edge of the squares that did not have sashing.

Then I sewed the squares into a row of three. After all the rows of three were sewn, I sewed the rows together: first the top two rows, then the bottom two rows, then the center seam to complete the grid. When I was done, the gray the strips formed a lattice sashing between the squares. Then I sewed two 2.5-inch gray sashing strips together and stitched the strip across the top of the quilt-top to complete the lattice.
I also cut some 2.5-inch strips from my backing fabric to add a border all around. That made the top 61-inches by 81-inches. I don't know why. I designed the top to be 60-inches by 80-inches without the extra border, but when I was done stitching the lattice, the top was 58-inches by 77-inches. Then when I added the 2.5-inch border all around, I ended up with 61-inches by 81-inches.
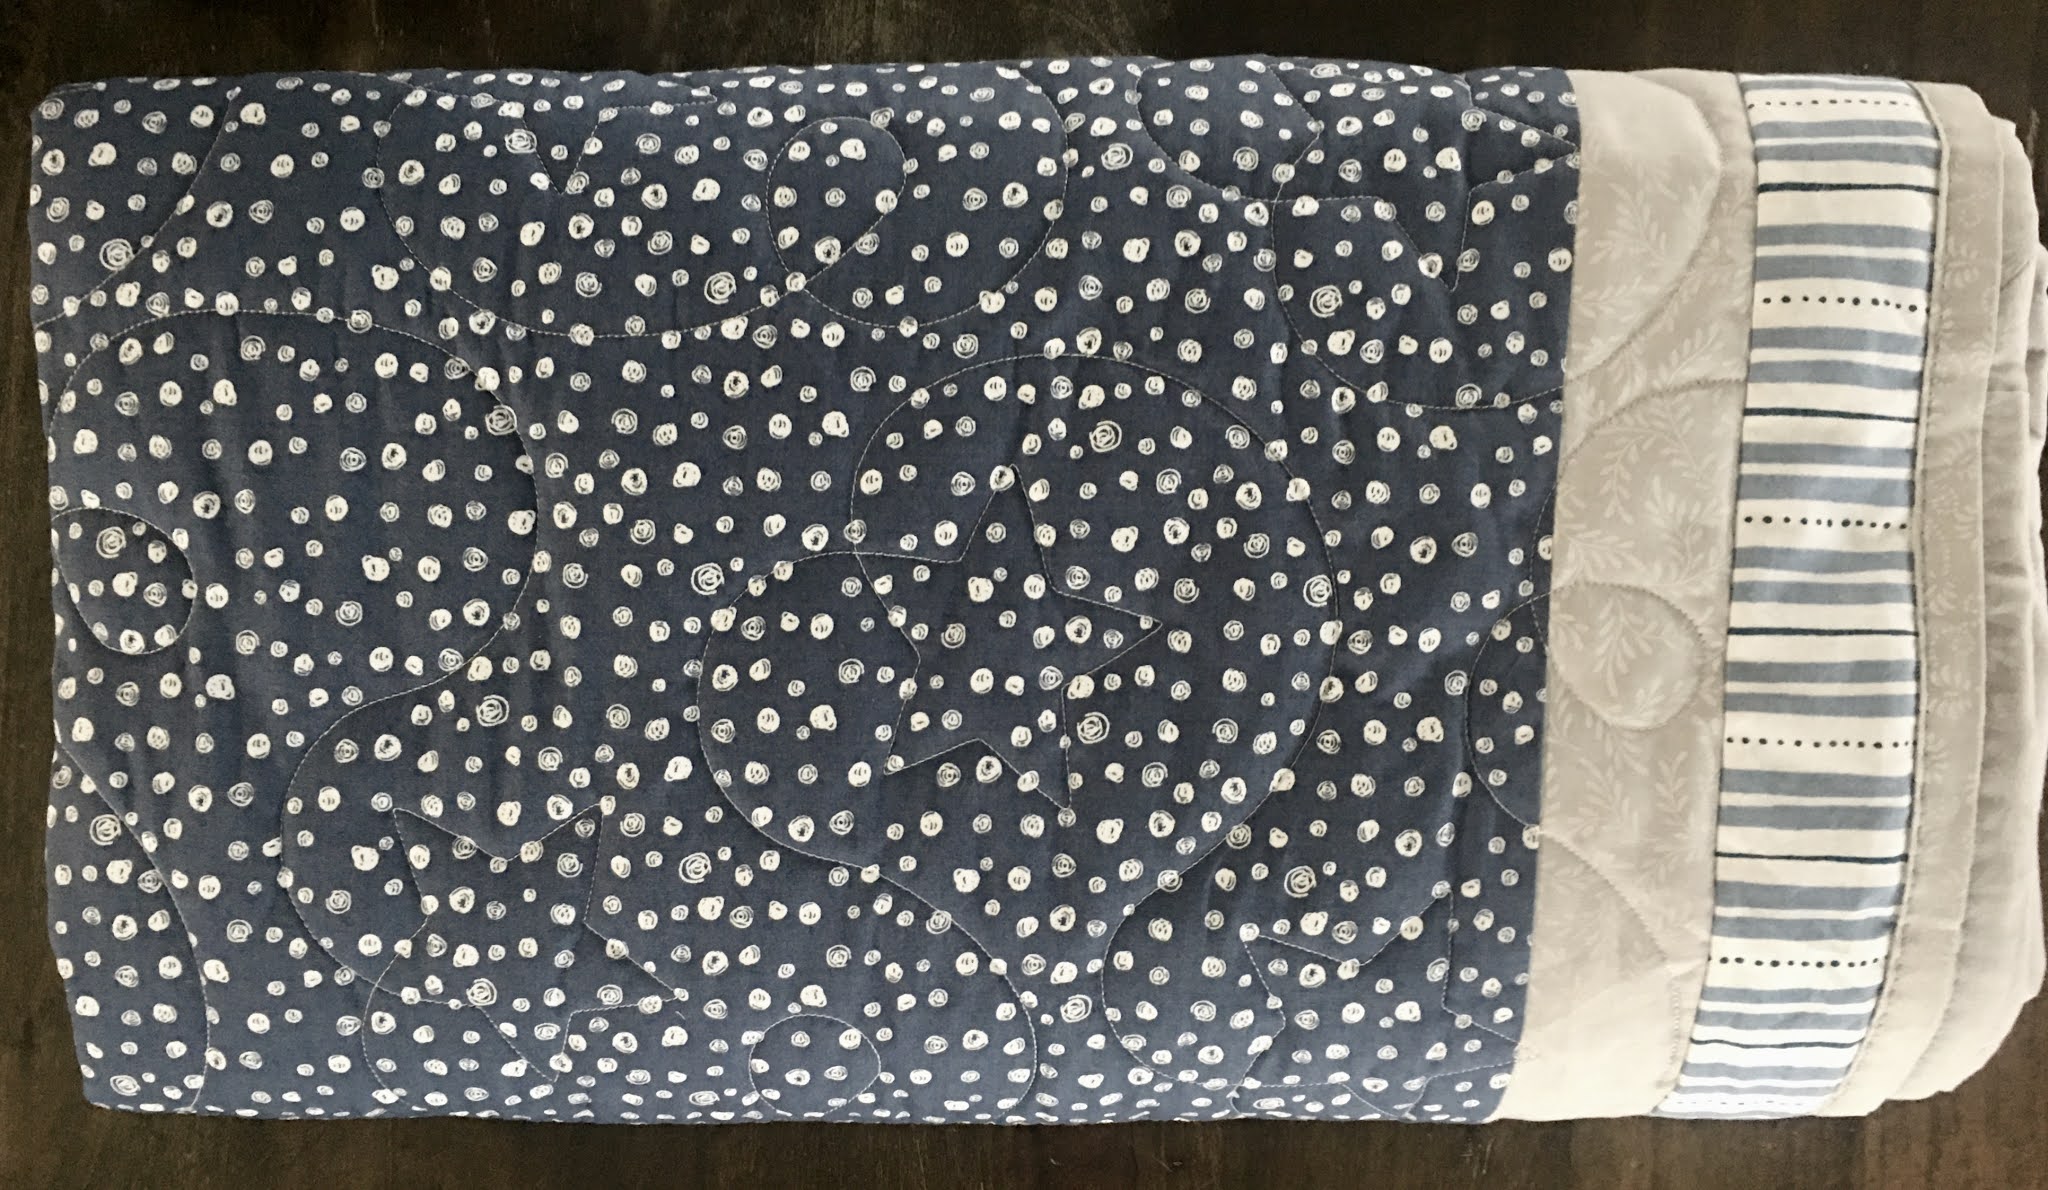
I cut the sheet for my backing-10 inches larger all around than the pieced top and sent the top, the backing, and the batting off to the long-armer, Laura Jarvis of KootsieQuilting in Stockbridge, MI. She made a design of swirls and stars and when it came back it looked really cute.


I made some bias strips out of my 2.5-inch, gray, jelly roll to use for binding my quilt. Here's how I do my binding: I pressed the binding strip in half to mark the center, unfolded it, and sewed the strip -- right sides, and raw edges together -- on the back of my quilt, using a walking foot. Then I folded the strip over the edge of the quilt, at the same time folding the raw edge of the binding into the fold, and clipped the binding to the front of the quilt. Then I hand basted the binding to the right side of the quilt before stitching the binding onto the quilt with the machine, mitering the corners as I went along. I know it sounds tedious, but that's how I do it; I enjoy it, and it comes out nice.

This quilt was donated to SafeHouse Center through the Greater Ann Arbor Quilt Guild. SafeHouse gives every guest their own quilt. I hope the person who gets this quilt loves it, too.
Comments