
Christmas Light Garland

 By Alisa

I saw an adorable vintage Christmas bulb felt ornament on Instagram and loved it! A search online unearthed a pattern and tutorial from Oh Yay Studio -- along with a lot of other cute things.

I loved the colors in the Oh Yay version, but I wanted to do something a bit more traditional, which required me to search for a picture of the classic Christmas bulb for reference.  


I had wool felt on hand for a couple of the colors but I had to order the green and blue from Benzie Design on Etsy. They have lots of lovely colors and very quick shipping!

I used the Oh Yay template for the bulb; I cut the pattern out of printer paper, leaving the black border, and laminated the pattern with packing tape. I prepped a bunch of felt rectangles and cut the bulbs two at a time, using a clip to hold the felt and template together.  I kept the felt pairs together using a clip until it was time to sew.

Once all the bulbs were cut, I sewed them on my machine starting about halfway down one side of the base and went around the bulb using a slow speed and a straight stitch ending back at the other side of the base.  I used a neutral beige thread but a silver or contrast thread would be great here.

Then it was time to stuff! I used my blunt small scissors to push a small handful of PolyFil into the bulbs. I think they look best lightly filled, so don't overstuff!

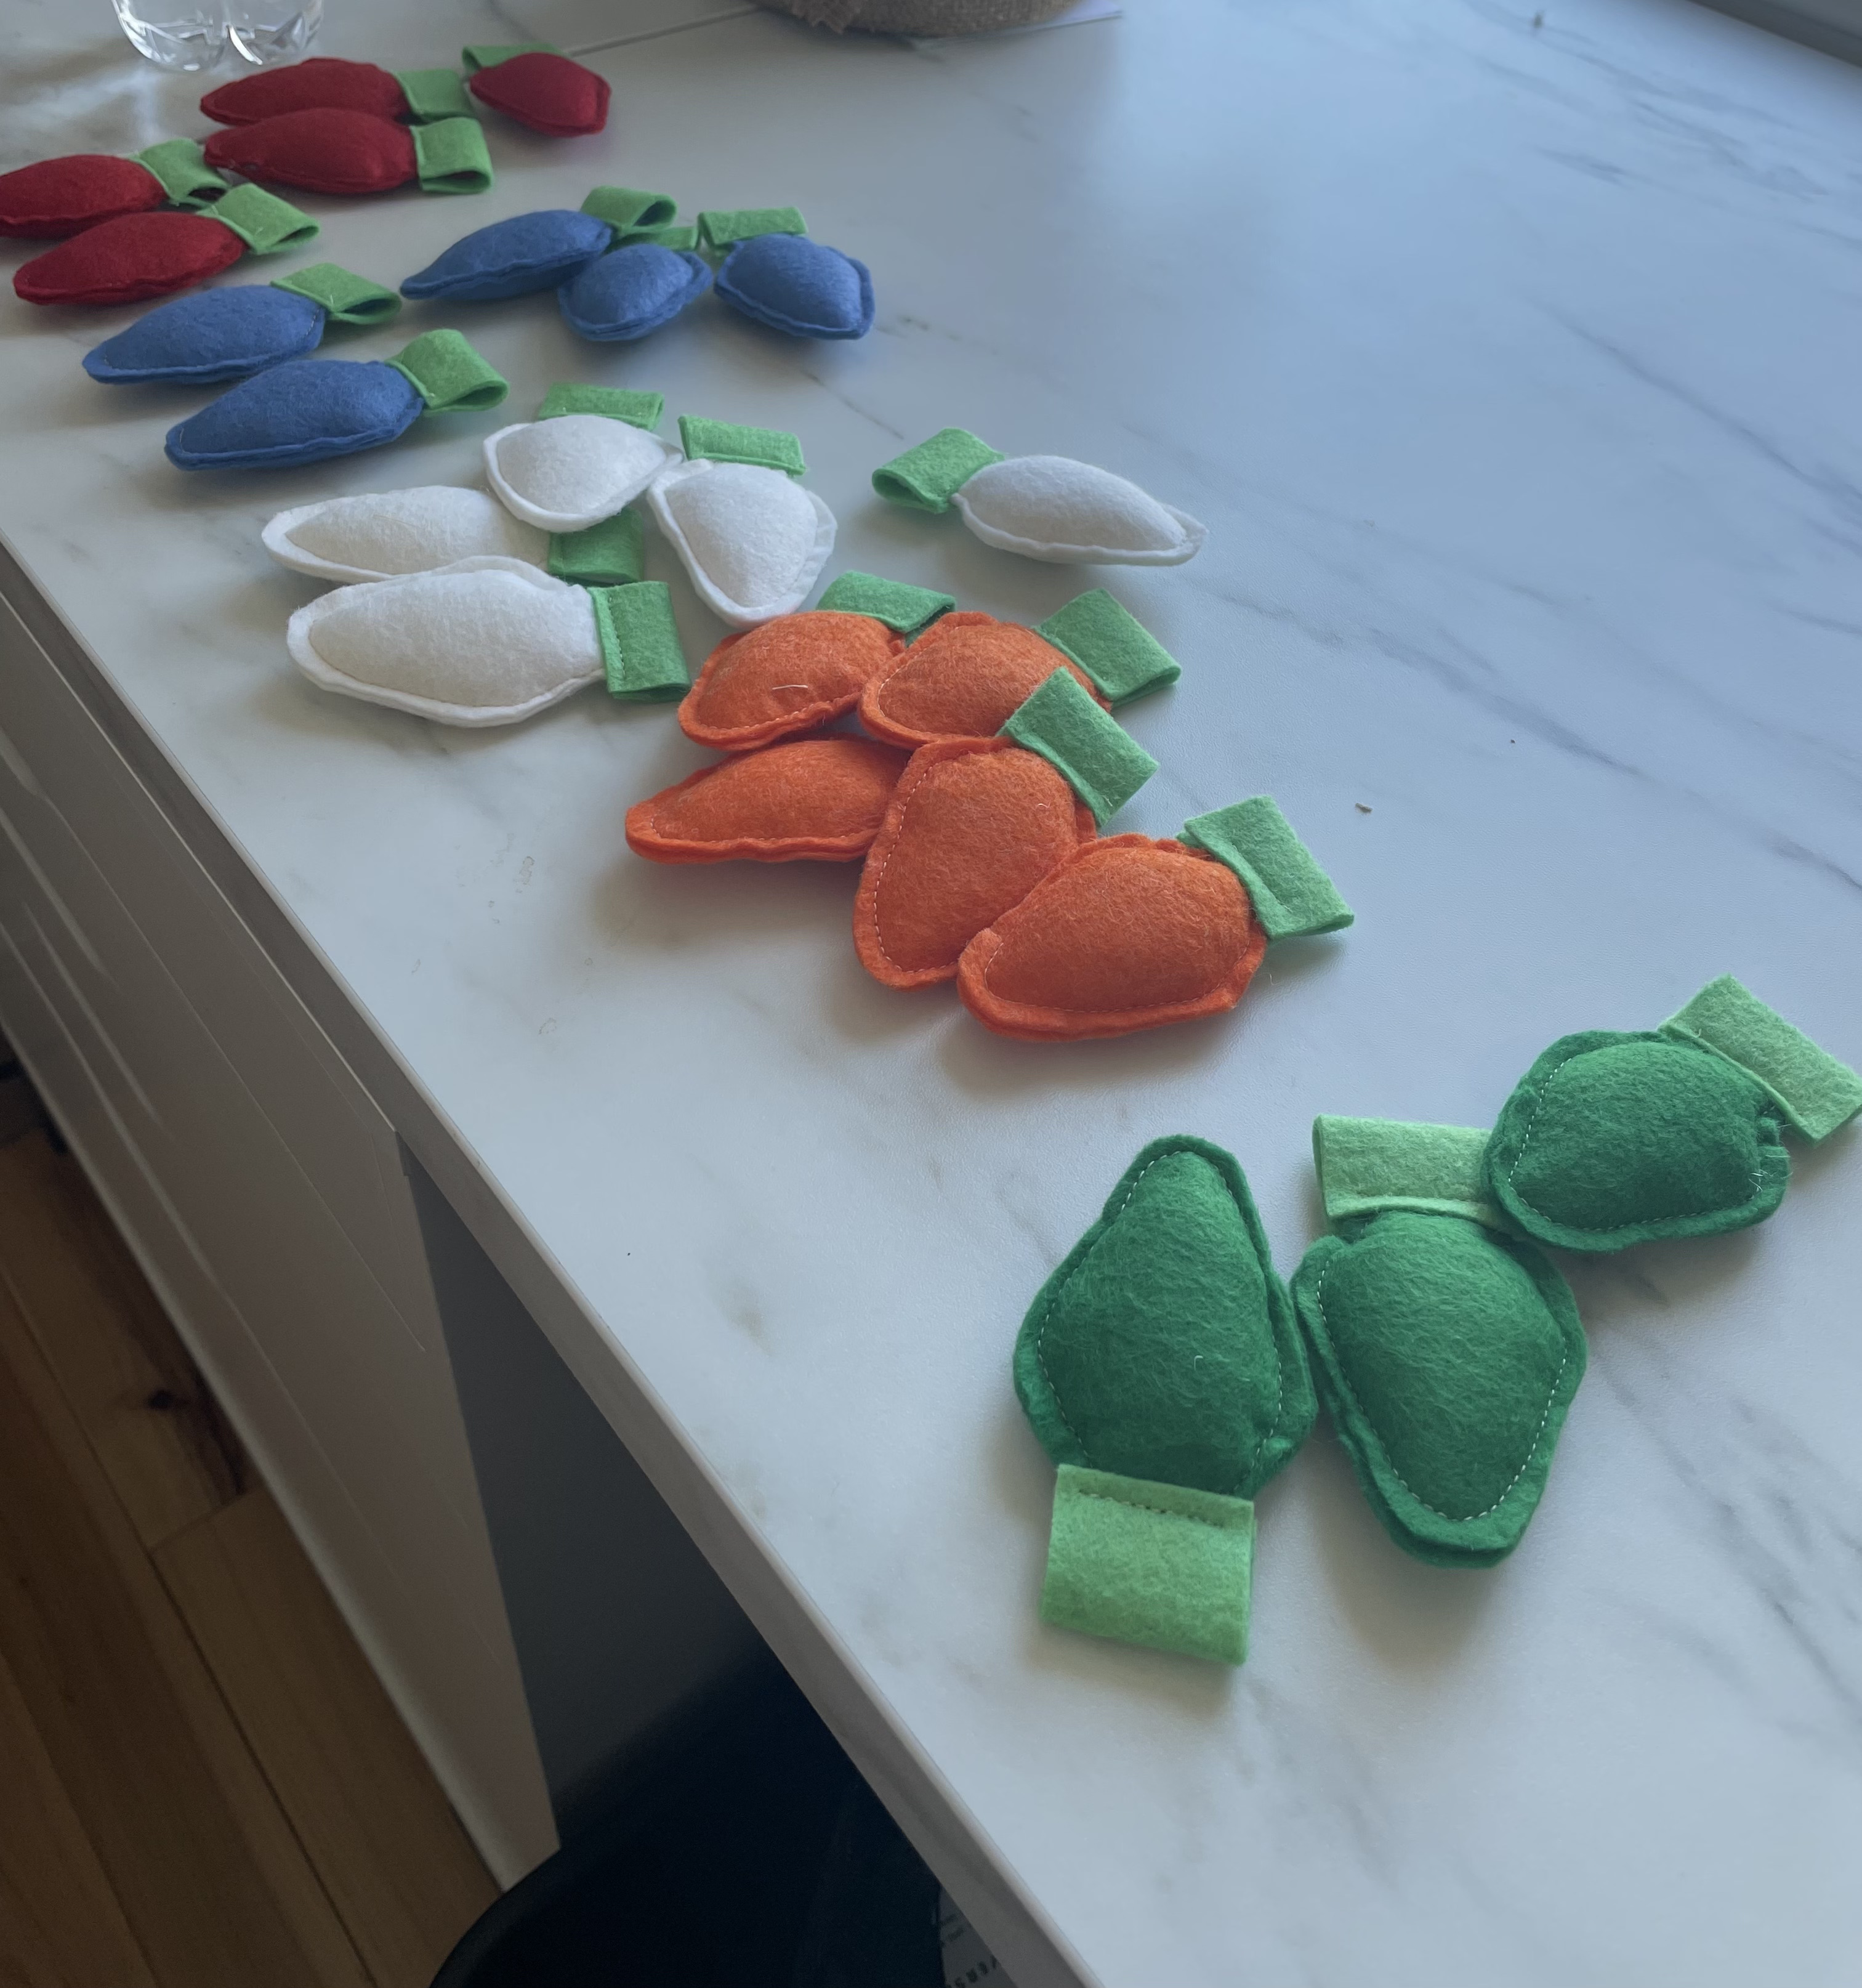
Once the bulbs were filled I cut the green felt, rectangular bases and sewed them across the top of the lightbulb base, leaving the sides of the rectangles open.  

I had decided to make a garland, so I strung some bakers twine (red & white!) thru the open base of each stuffed bulb and, voila! Energy-independent Christmas lights!


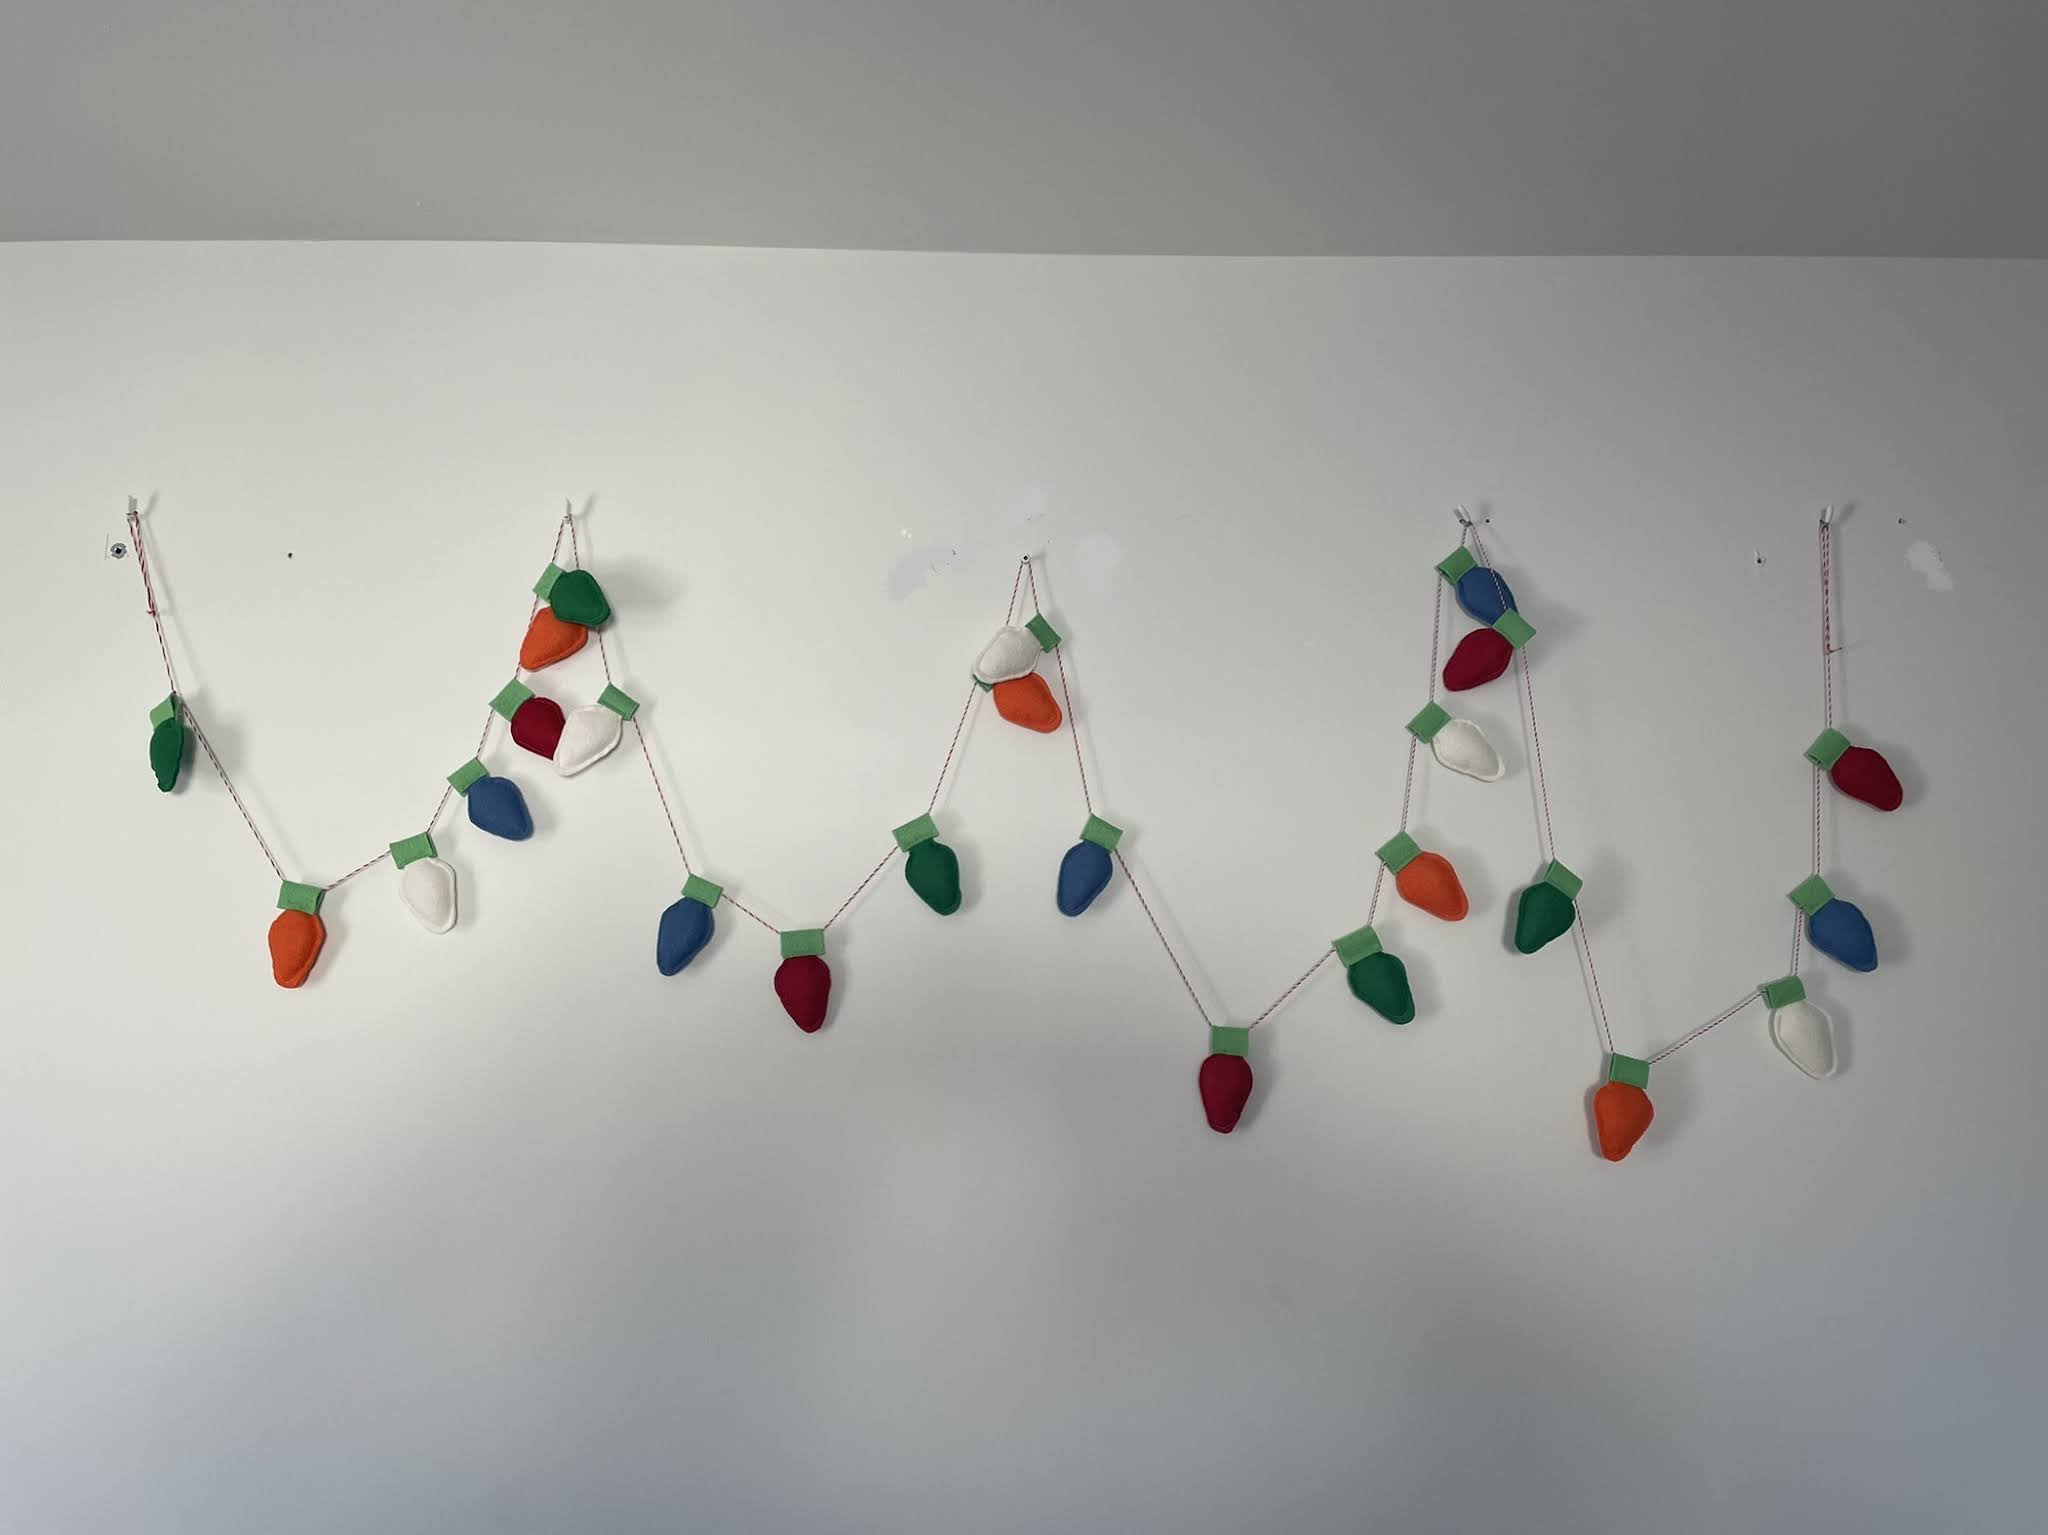
I put a small section on the tiny tree I have in my office this year; and it is just the perfect festive touch! I sent the rest to a friend who is a connoisseur of vintage Christmas decor. I hope that he enjoys it on his tree!


When I make these again -- which I certainly will -- I'm going to try a quilt-like method by layering 8 x11-inch rectangles of batting between felt layers, and adding a paper template with multiple bulb outlines on top. Then I'll sew inside of the outline of each before cutting them out and then removing the remaining template paper. I have printable template paper to use for this method.


Comments

Popular posts from this blog

Scrappy log cabin blocks

by Linda Theil Scrappy Log Cabin quilt block by Linda Theil  Next month the Greater Ann Arbor Quilt Guild will host a virtual quilt-along to make quilts for the SafeHouse Center womens' shelter in Ann Arbor, Michigan. One of the suggested blocks to make at the event is a Scrappy Log Cabin suggested by GAAQG member and artist Mary Bajcz. I love the Log Cabin block design and decided to get a head start on next month's event by organizing my materials and develping a process for making my Scrappy Log Cabin blocks. I began by watching Mary's YouTube video: "Scrap Quilt Strategy: The Log Cabin Technique" , and many others available on the topic. What a variety of approaches!   I'm not much of an improvisor and this is the first time I've tried the scrappy approach to quilt making. So It was quite an adventure for me. I pulled out my scrap bin and began sorting for lights and darks. After looking at many videos, I decided to work with a central square of 2.5-i...

Notes on Purl Soho Cross-back Apron pattern

Purl Soho Cross-back Apron, regular sized, front view Purl Soho Cross-back Apron, regular sized, back view by Linda Theil This is the Purl Soho Cross-back Apron featured on their website at  https://www.purlsoho.com/create/2015/11/20/cross-back-apron . Their page includes complete directions for making this one-size-fits-most apron with large, side-pockets and cross-back straps. This retro apron is so nicely made and looks so much like the apron my grandma wore in the Nineteen-fifties that I had to make one for my friend who appreciates the nostalgia and the beauty of this design. Although this apron pattern, as published, can adjust to several sizes from 2-10; I also made a larger option, adjusting the width of the pattern pieces to accommodate up to size 16 and up. Size adjustment may also be made by varying the length of the straps. These notes are a record of my experience with the pattern, and should only be viewed as commentary; your results may vary. ...

Advent star

by Linda Theil Alisa made me a beautiful Advent calendar long ago and every year she fills it with goodies in anticipation of the Christmas holiday. Last Christmas, every pocket contained two rolled-up strips from a "jelly roll" precut package of "Holiday Florish Festive Finery" by Robert Kaufman. I wanted to use the fabric right away and not allow my gift to disappear into my tub of holiday galore. After searching my patterns for a block that could be made with "jelly-roll" strips, I decided to redraw a "Christmas Star" block in a size that would use the 2.5-inch-wide "jelly roll" strips. This redraw resulted in a 10-inch block before finishing, and not including the 2.5-inch sashing I added later. For construction I used the method described by Brigitte Heitland in her "Christmas Star" pattern. This was a free pattern that I no longer find available through her website. The block looks very intricate, but Heitland's con...