 |
| Casey's Cat original at Caseville, MI on Lake Huron |
When I visited my friend Casey's cottage on Lake Huron, I was greeted by this calico cat that resided in a knotty-pine bedroom, snug under the eaves overlooking Lake Huron. I took a photo and tried to reproduce Casey's cat for my own.
 |
| Casey's Cat redux 2017 by Linda Theil |
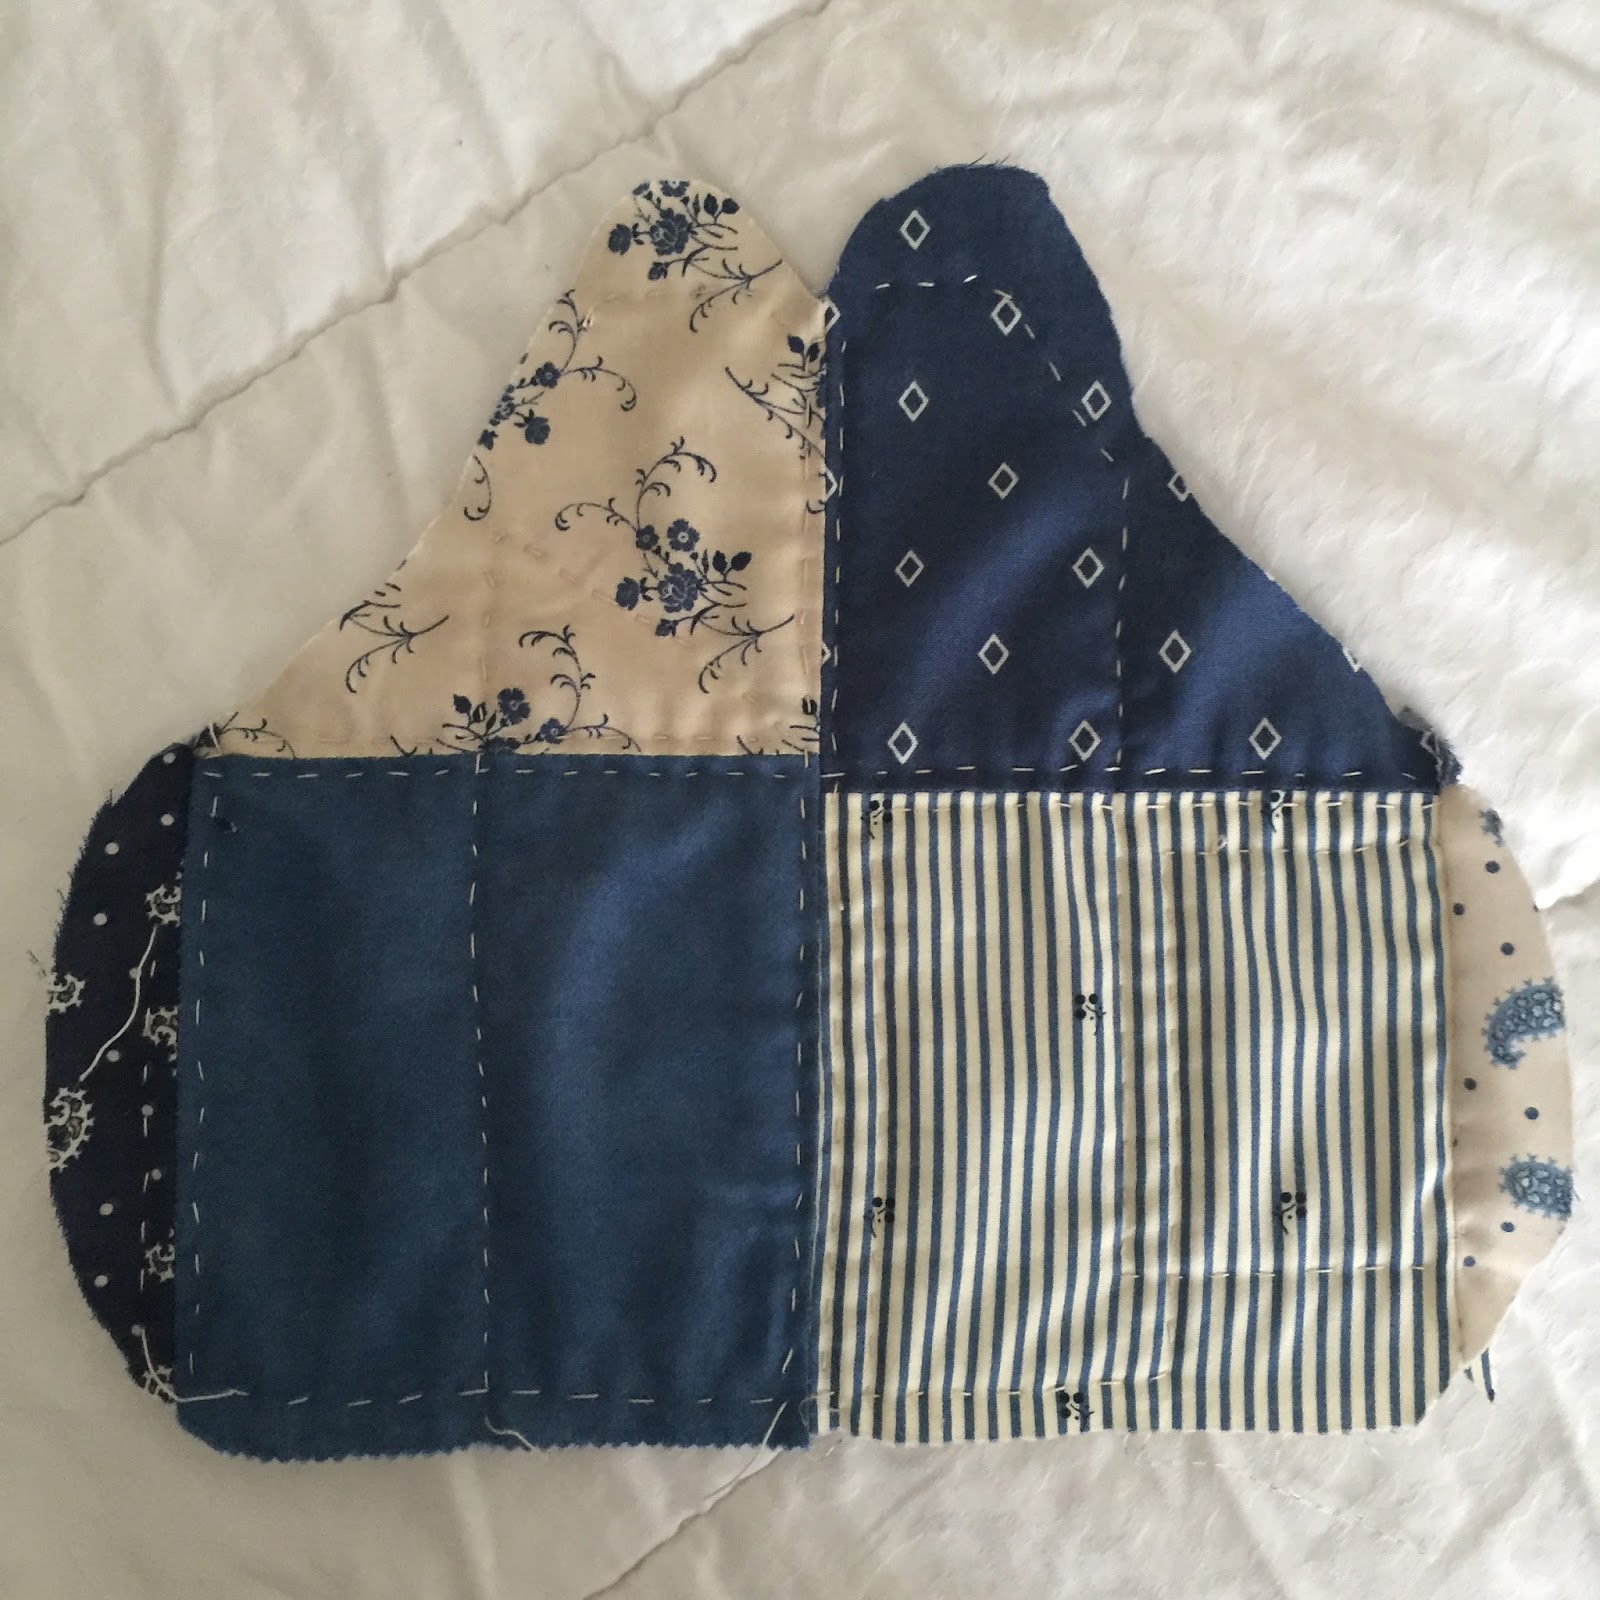
i started by drawing the pattern below; overall the cat back is about 10-inches high, including 1/4-inch seam allowances. The edge along the fold is 8-inches long.
 |
| Caseville Cat pattern: cat back is 8-inches along the fold and four-inches along the bottom. |
Here is a list of materials I used to make the cat.
Materials:
- Bosal or Pellon Flex Foam: 1/4-inch foam padding typically used as stabilizer for totes and purses
- scraps of cotton prints; I used 5-inch squares from Charm Pack: "Grand Traverse Bay" by Minick & Simpson for Moda.
- 12-inch square of coordinating Minky, flannel, or fleece for cat back.
- 12-inches of narrow satin ribbon for bow
- #8 perle cotton for hand quilting
- short piece of embroidery floss or perle cotton for whiskers
- 18-inches thick cording for tail
- fiberfill, or fabric scraps for stuffing
Directions
Sew calico pieces together and cut out cat halves using pattern for cat back. (Or cut out individual pieces from various cotton prints and sew together.)
 |
| Half-cat pattern used to cut out cat from pieced calico |
 |
| Front of cat, cut from pieced calico prints. |
 |
| Bosal, 1/4-inch foam stabilizer |
Cut one piece of Bosal or Pellon Flex-Foam using cat-back pattern without added 1/4-inch seam allowance.
Pin foam to wrong side of pieced cat front.
Hand quilt cat front to foam stabilizer using perle cotton thread.
Quilted cat front.
Paint eyes with indelible marker, as shown on pattern.
Thread embroidery needle with perle cotton or embroidery floss.
Insert threaded needle below cat's left eye in whisker position, as shown on pattern.
Pull thread through to other whisker mark below cat's right eye, as marked on pattern, leaving long tail for left-side whisker.
Leave long thread tail on cat's right-side whisker, also. Cut thread, and set needle aside.
Knot thread at base of whisker on cat's right side.
Cat's right-side whisker knotted.
Knot thread at base of cat's left-side whisker.
Both whiskers knotted.
Trim whiskers to desired length.
Cut tail cover from fabric 1-inch wide by 7-inches long.
With right-sides-together fold fabric strip in half lengthwise, encasing cording inside fold -- leaving eight-inches hanging out of right end of fabric tube.
Stitch right end of tube closed, stitching over cording end to secure in place. Pivot the needle and stitch 1/4-inch seam down the open side of the tube, encasing the cording inside.
After stitching, while holding the unsecured end of the cording, begin working tubing over the secured end of the cording, carefully turning the tube right-side-out, over the cording inside.
Tie the cording sticking out of the secured end of the tube in a knot and trim about 3/8-inch from the end, fluffing cording to form a little pom-pom.
Secure the tail to the cat with the tail laying along the front of the cat, and the raw edges of the non-pom-pom end of the tail even with the bottom right side of the cat.
Using the cat-back pattern, cut a cat back from Minky, flannel, or fleece.
With right sides together, stitch two halves of cat together all around the outside edge, leaving the bottom open.
Turn cat right-side-out.
Stuff cat with fiberfill or fabric remnants.
Stitch bottom of cat closed, using decorative zig-zag stitch.
Tie ribbon in bow. Secure bow to front center of cat.


Comments