by Linda Theil
I saw a Shabby Fabrics advertisement for a mug rug with an autumn leaf motif made from a scrappy bear-paw block that was so cute I had to try it for myself.
I watched the advertisement video for the mug rug kit, and I looked up a free bear-paw pattern on the Fat Quarter Shop site.
One of the tips from the video was to use a design board to keep your bear-paw pieees organized and placed correctly. I used my cutting mat as the design board for my prototype. But you can also make a quick and easy design board by clipping a piece of batting to a large clipboard.
 |
Shows makeshift design board
with design from another project. |
I gathered up some autumn colored and themed scraps and cut out the following pieces to make my bear-paw/leaf mug rug. My final mug rug is smaller than the one in the video; mine turned out to be 13 x 7 3/4-inches.
Cut for mat:
- backing 15 inches wide x 8-inches high
- front 6 inches wide by 8 inches high
- batting 15 x 8-inches
- 1.5 yards 1-3/4-inch strip for binding
Cut for bear-paw/leaf block:
- two 3-inch square background
- two 3-inch square print scraps of autumn colors
- two 2.5-inch square background
- two 2.5-inch square solid scraps of autumn colors
- 1 yard 1-inch wide strips for block border
To begin leaf block, put four sets of 3-inch squares of background fabric, right sides together with 3-inch scrap squares. Mark a diagonal line through center of each set and stitch 1/4-inch seam on both sides of diagonal mark.
Then cut through the center line to make your four half-square triangles for the leaf points. Trim to 2.5-inches squaare.
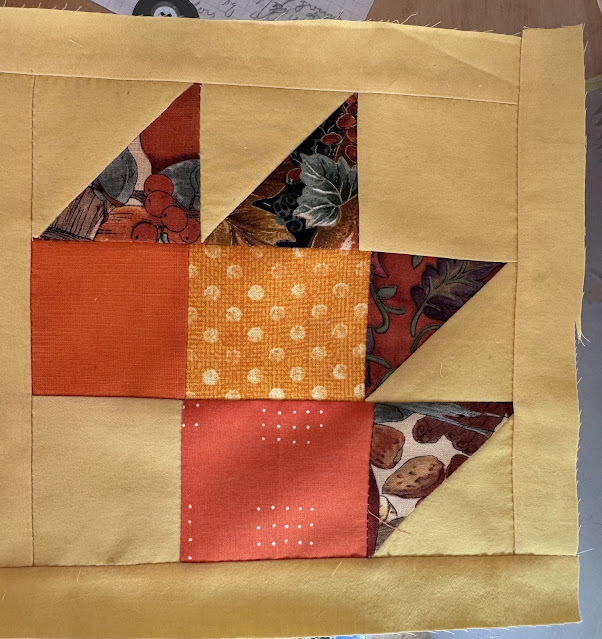
On your design board, create a four-patch with three solid 2.5-inch squares and one 2.5-inch background square in the corner.. Put another 2.5-inch background square in the opposite corner and arrange your half-square triangles next to solids to form a leaf shape, as shown in photo below.
Stitch together in three rows with 1/4-inch seams. Then stitch the rows together to form a nine-patch block. Trim up to 6.5-inches square.
Stitch one-inch strips around the outside edges of the block with 1/4-inch seams.
With right sides together, sew your 6 x 8-inch front piece to the left side of your leaf block using a 1/4-inch seam. Note: You can actually sew it to either side, whichever you prefer.
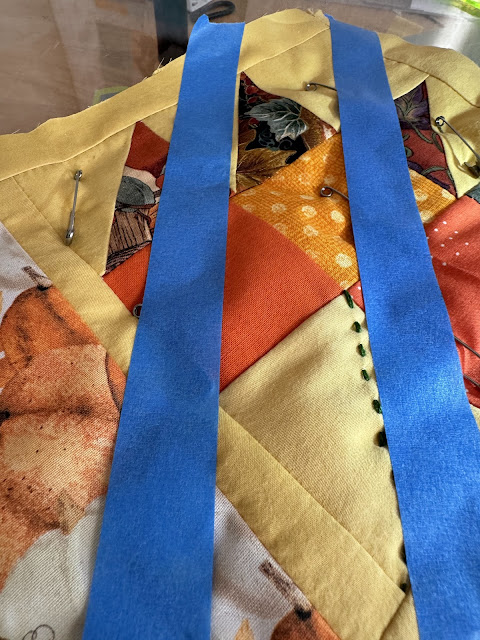
Using #8 perle cotton in dark green or brown, stitch a stem diagonally across the background square at the bottom of your leaf.
Sandwich your backing, batting, and pieced top together and pin to secure.
Mark lines of stitching with painter's tape and quilt all three layers using a walking foot.
After quilting, trim your mug rug evenly all around.
Sew binding strips onto back of mug rug using 3/8-inch seam, fold binding over edge to front tucking in raw edge, mitering the corners, and clip in place.
I hand baste the binding to the front of the mug rug, then machine stitch in place along the edge of the binding, using a walking foot. Don't forget to tuck your label into the binding before stitching.


Comments